COVID-19 RESPONSE
Our Response Effort
We are working to create accessible mask and filtration options for front line service providers. Our filtration solution uses existing .3 micron products accessible at local hardware stores and a simple 3D printed frame to offer mouth and nose protection from moisture particles capable of carrying the virus.
Please note: these products are not NIOSH rated Personal Protective Equipment. We believe them to be a better option than available alternative DIY masks. If possible, the best methods of disease prevention are social distancing and adhering to CDC and WHO hygiene guidelines.
Below, please find our request form, how to guide for DIY construction, references to support our work, and additional resources to help you better prepare for the current crisis.
The version of our mask that we are supplying will differ from the DIY version in that we use metal grommets at the tie locations and a hybrid polymer thread to increase durability.
Personal Protective Equipment Request Form
Please note, we are asking for a contribution of $15.00 per mask if ordered below. We are not a large-scale mask provider and must cover the cost of research, supplies, equipment, time, and labor. We understand that this may not be an option for all those in need and encourage the free use of our our guide below.
How to Guide
Filter Creation (DIY time: 30 minutes)
What you’ll need:
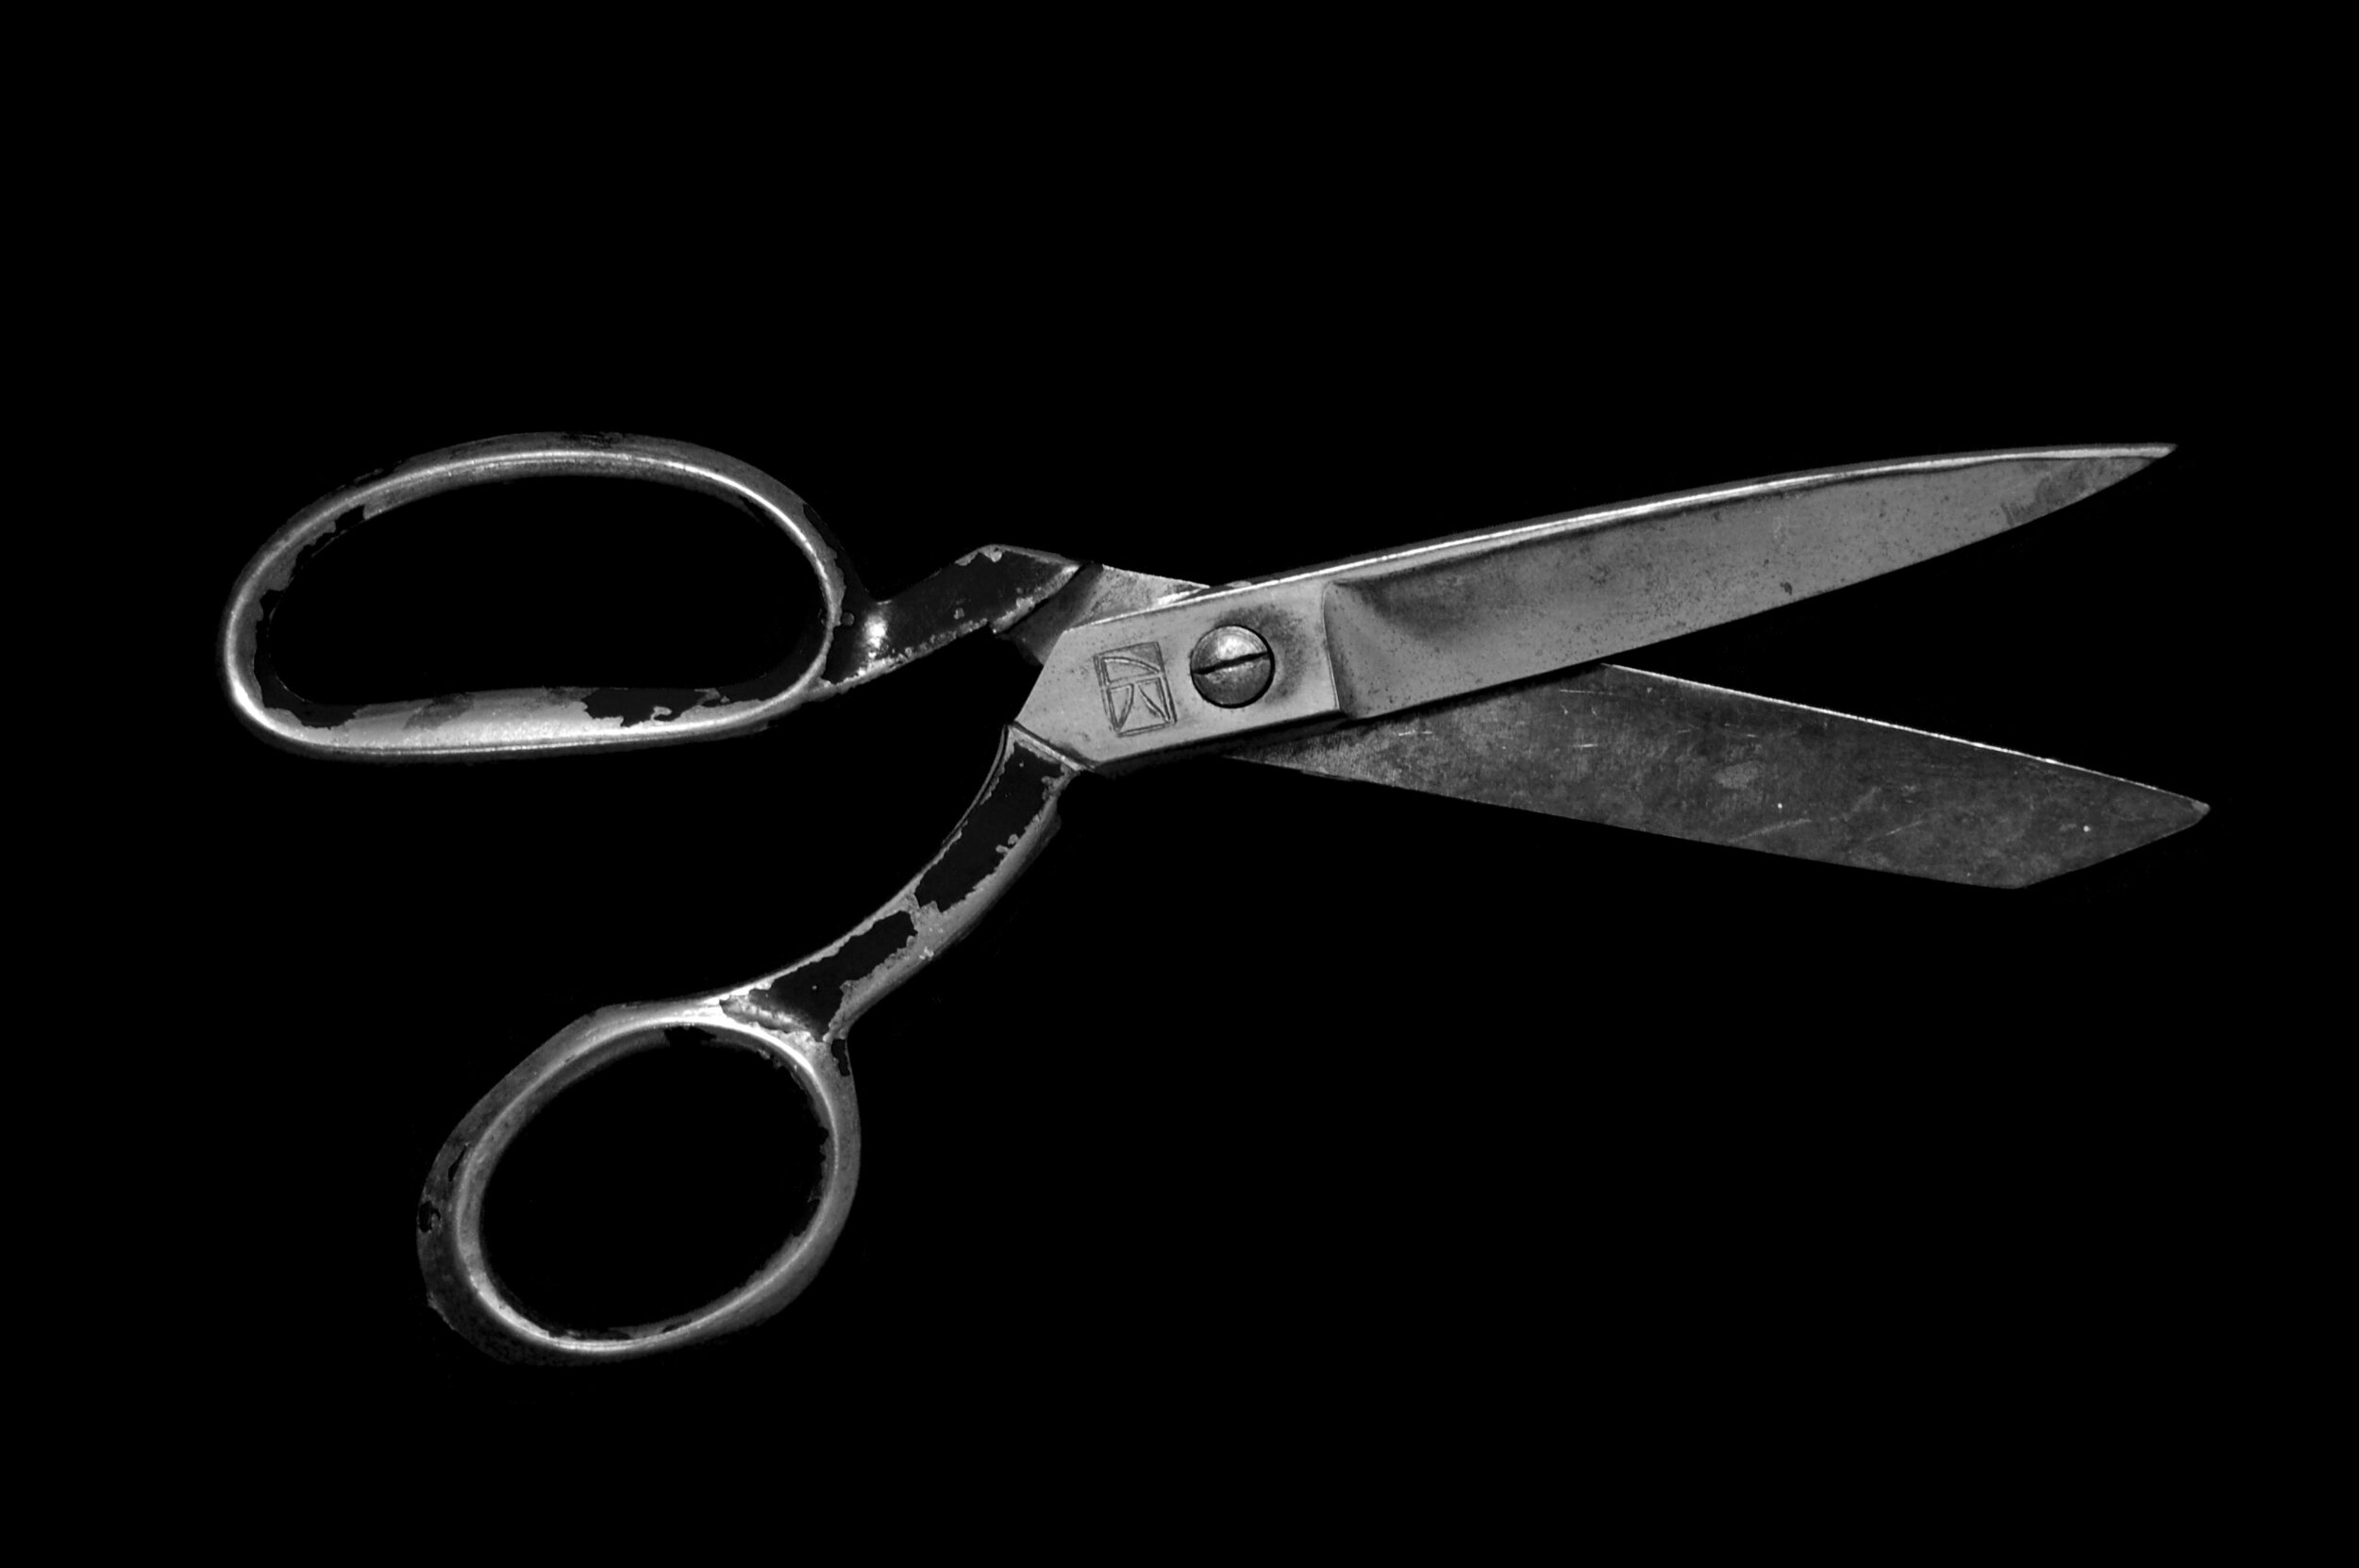
Scissors
A simple but sharp pair of scissors capable of cutting light cloth and filter material.

A/C Filter
Carried at home improvement and grocery stores (and from our research, fully stocked). Make sure to search a description of the product’s filtration level. You’re looking for .3 micron or better.

Tea Towels
Also known as flour towels or dish towels, this fabric will act as a protective casing for the filter core. You can find them on Amazon or at retail stores like Target.
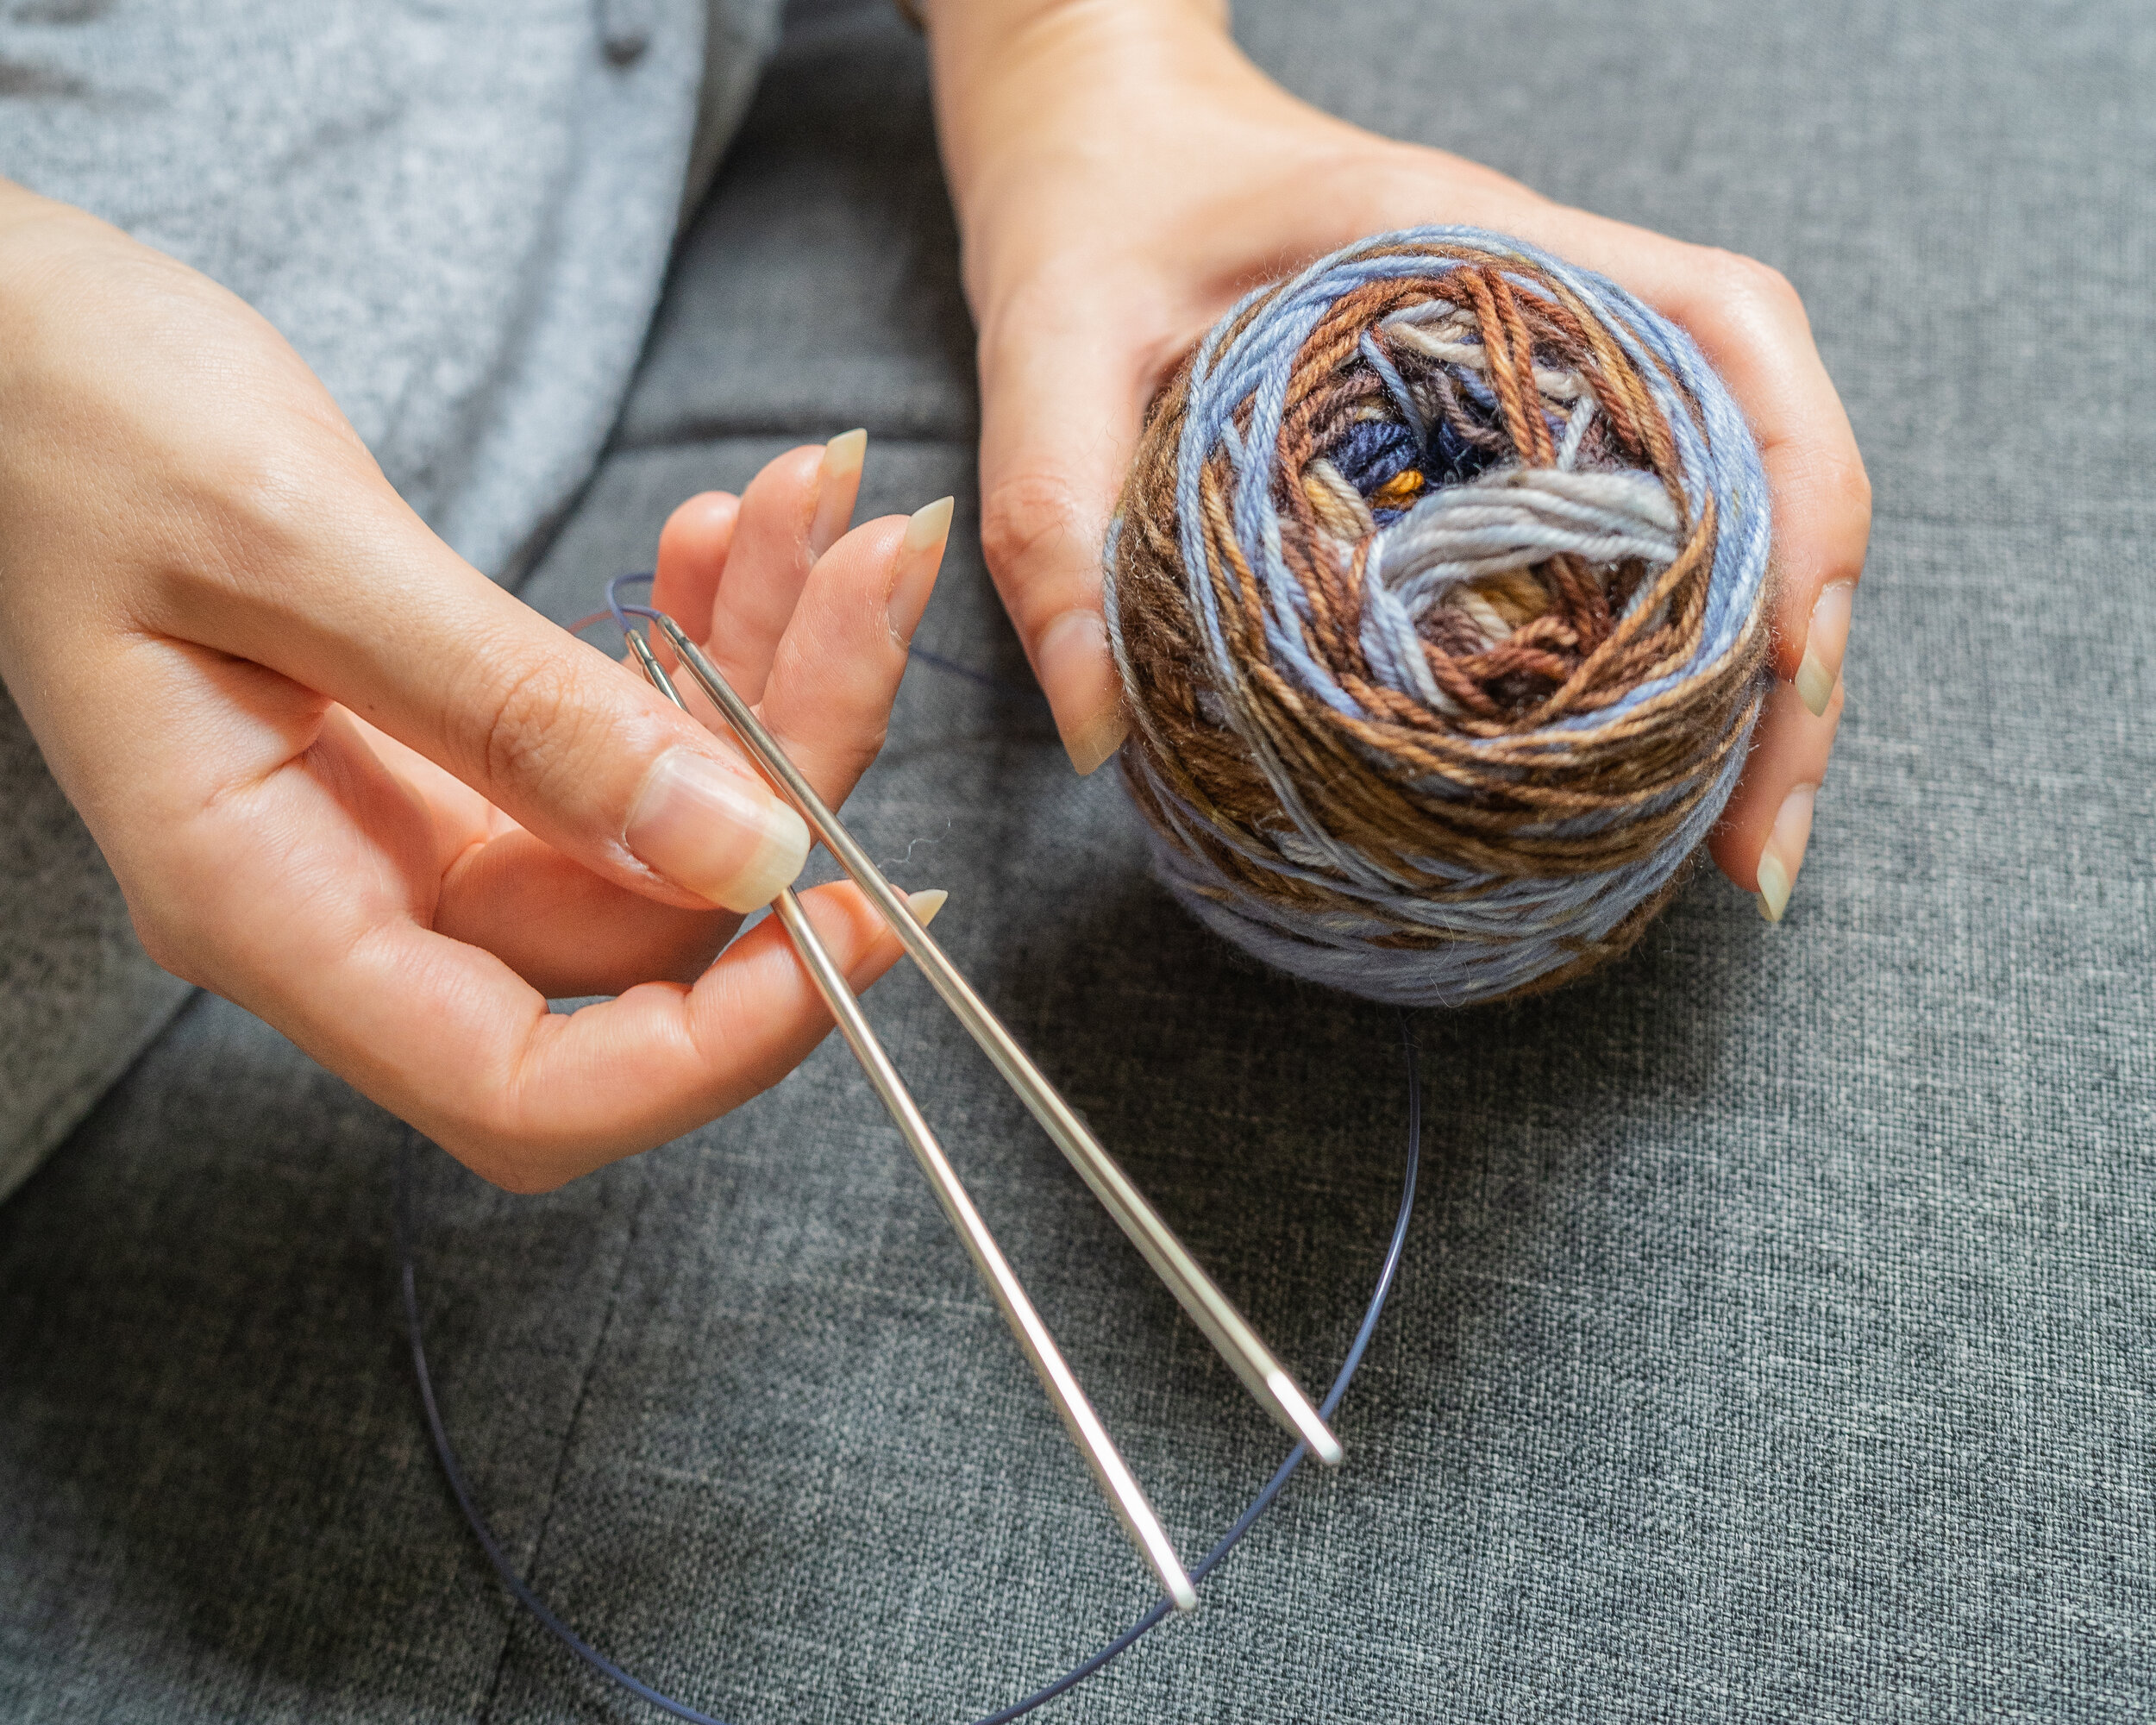
Needle & Thread
You’ll use this to stitch everything together. If you have a sewing machine, even better.
Mask Creation (DIY time: 45 minutes, after initial set up)
What you’ll need:
If you don’t have access to 3D printing, see our alternative approach (coming soon).
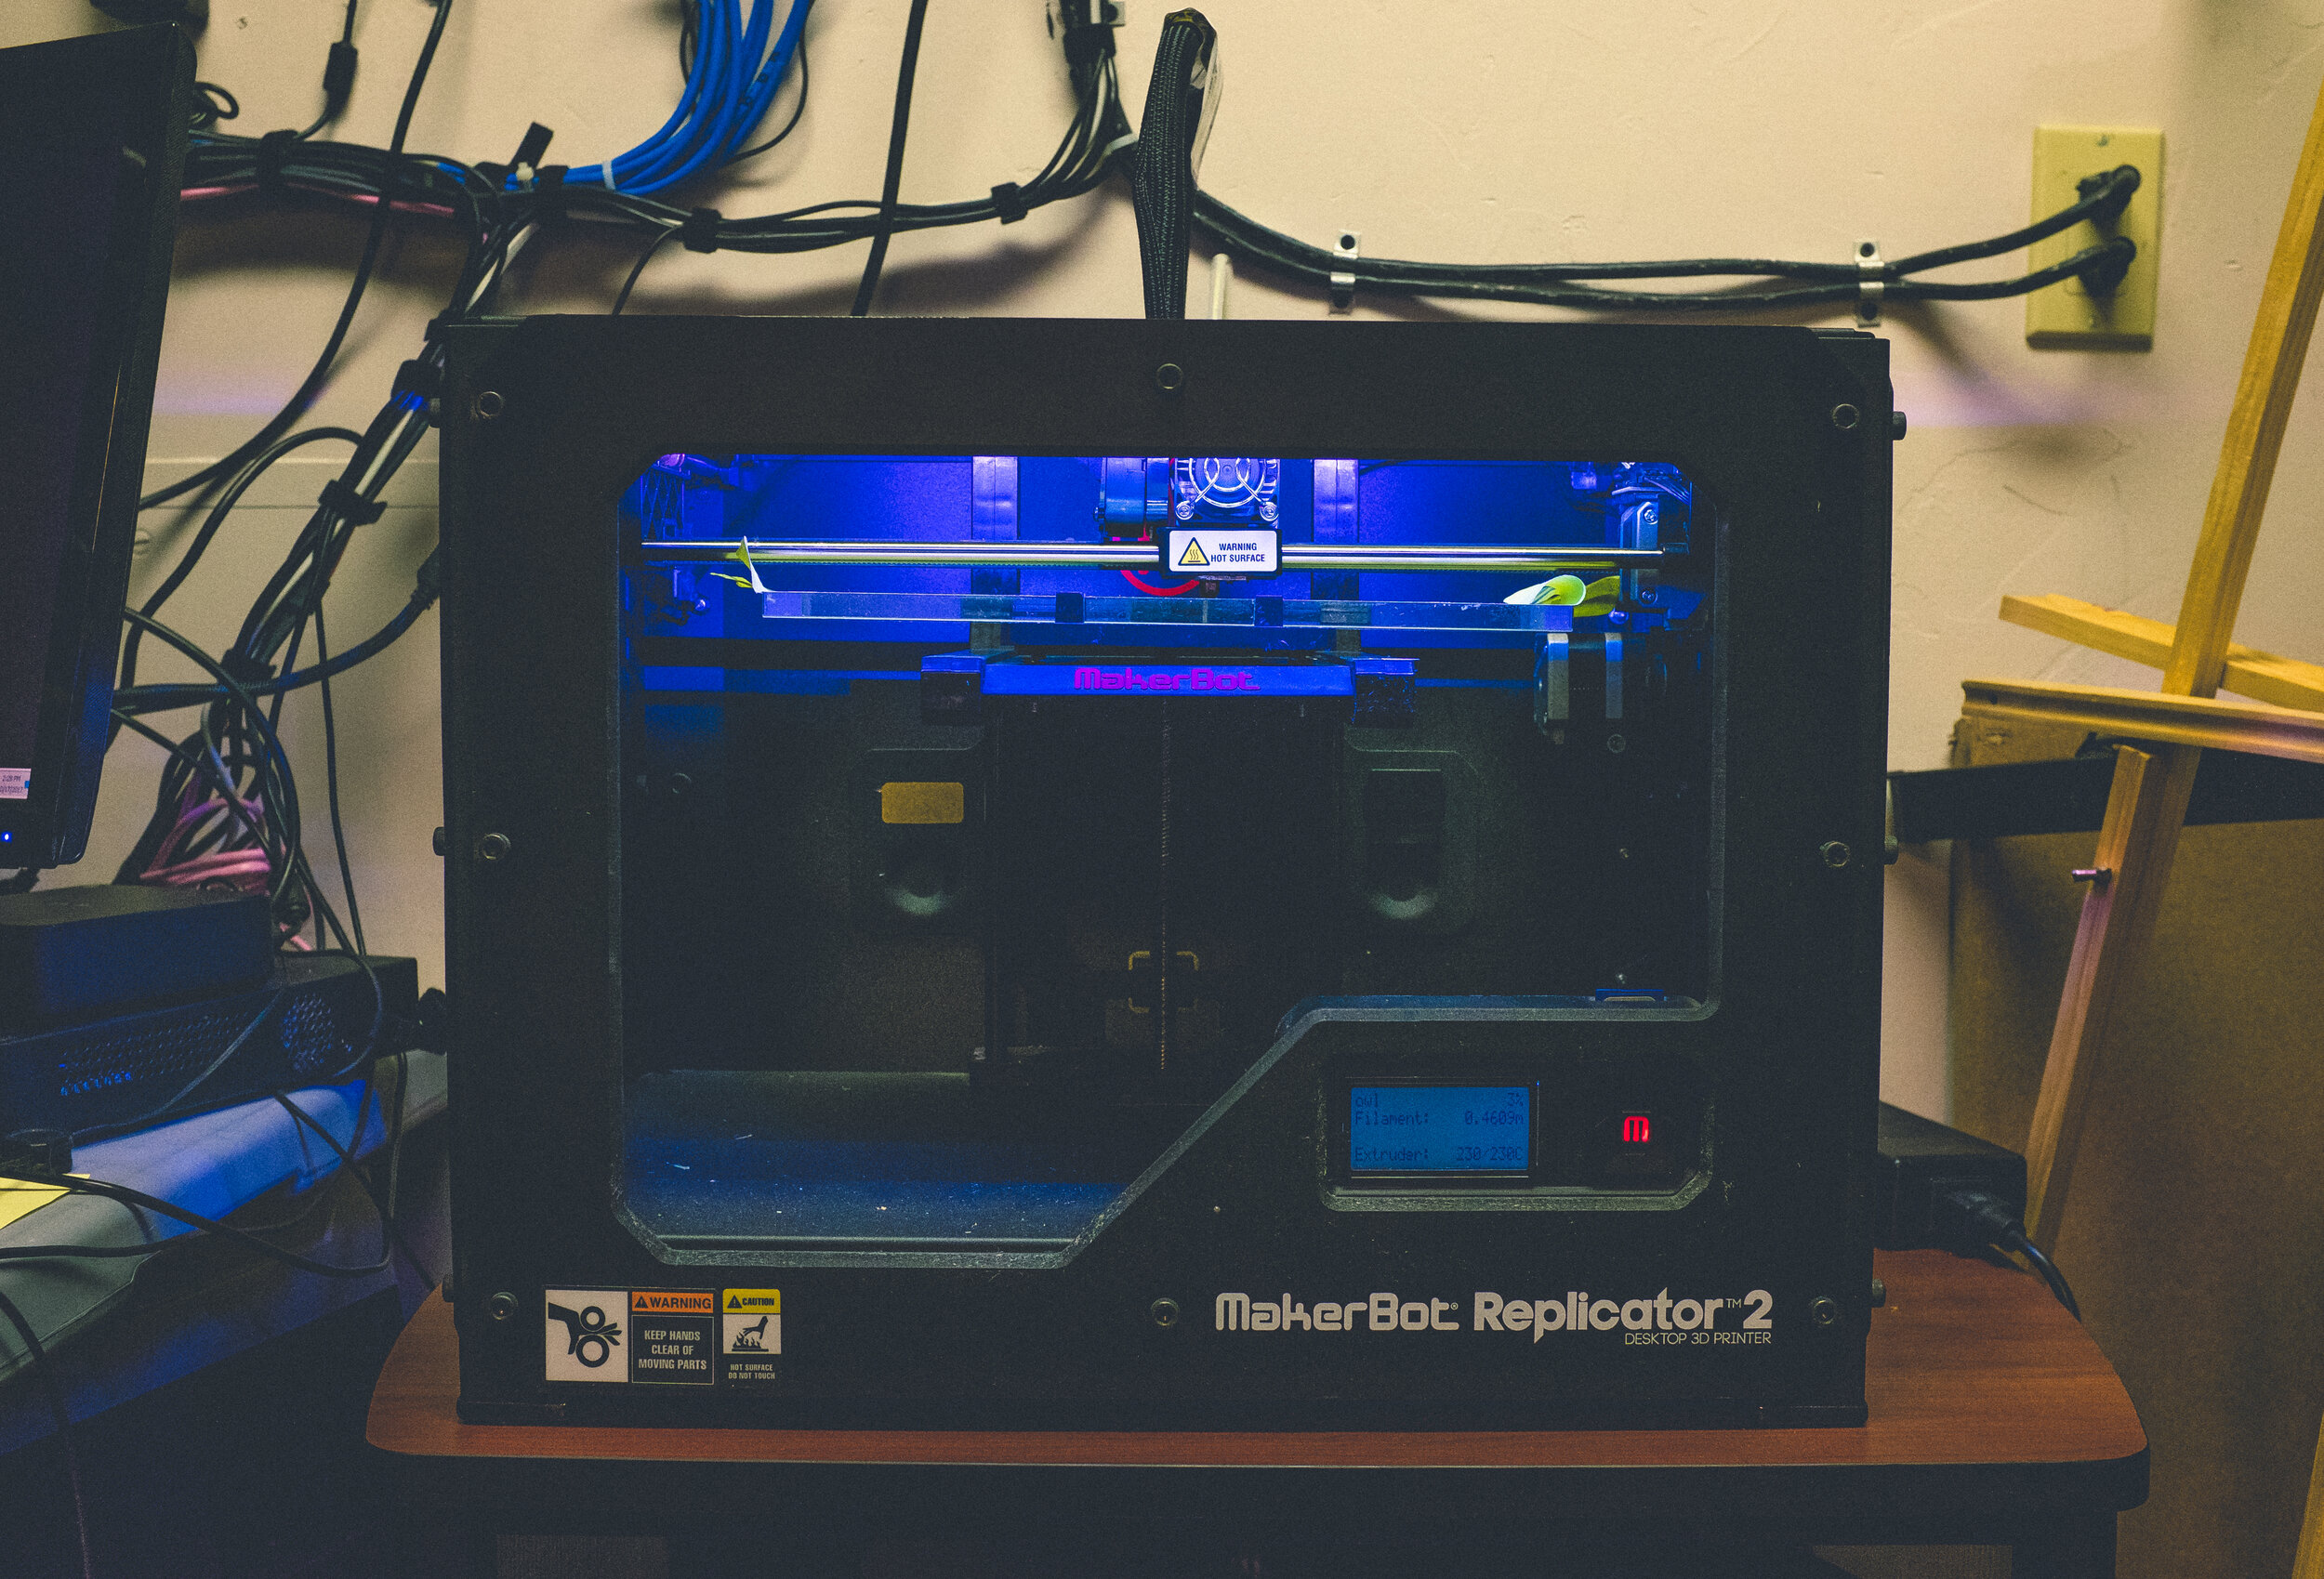
3D Printer
Even the most basic 3D printer will be able to handle this job. You’ll need one with a build surface area of at least 8”x 4”. A heated bed will help but isn’t essential. Make sure to thoroughly level the print bed before printing.

Frame Design
Create an account at GrabCad. Then head here to download the design file. You’ll need to download a splicer - software that can put the design file into G-code (the language that printers understand). You can find free versions with a simple Google search. We like Simplify 3D.
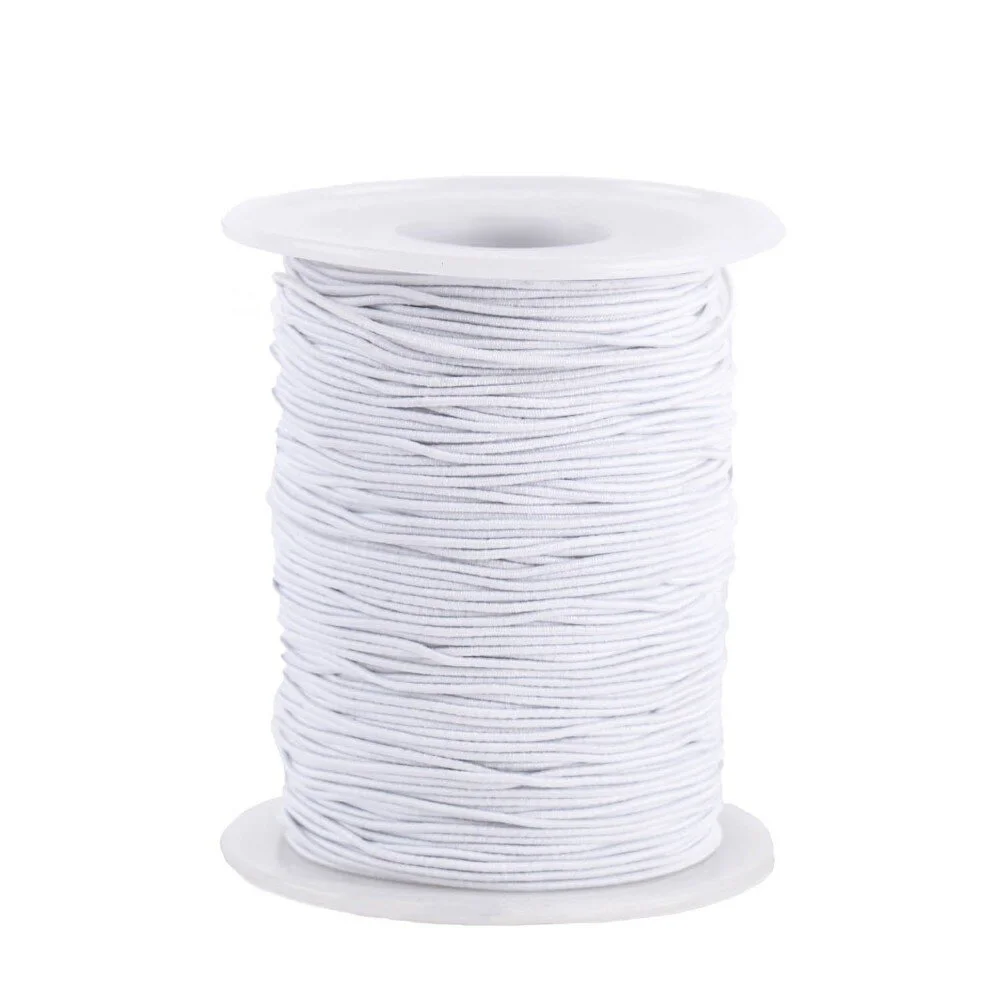
Elastic String
This will affix the mask to your face. Any string will do but we’ve found elastic string (3 mm) to make taking the mask on and off the easiest. There are plenty of options to choose from here.
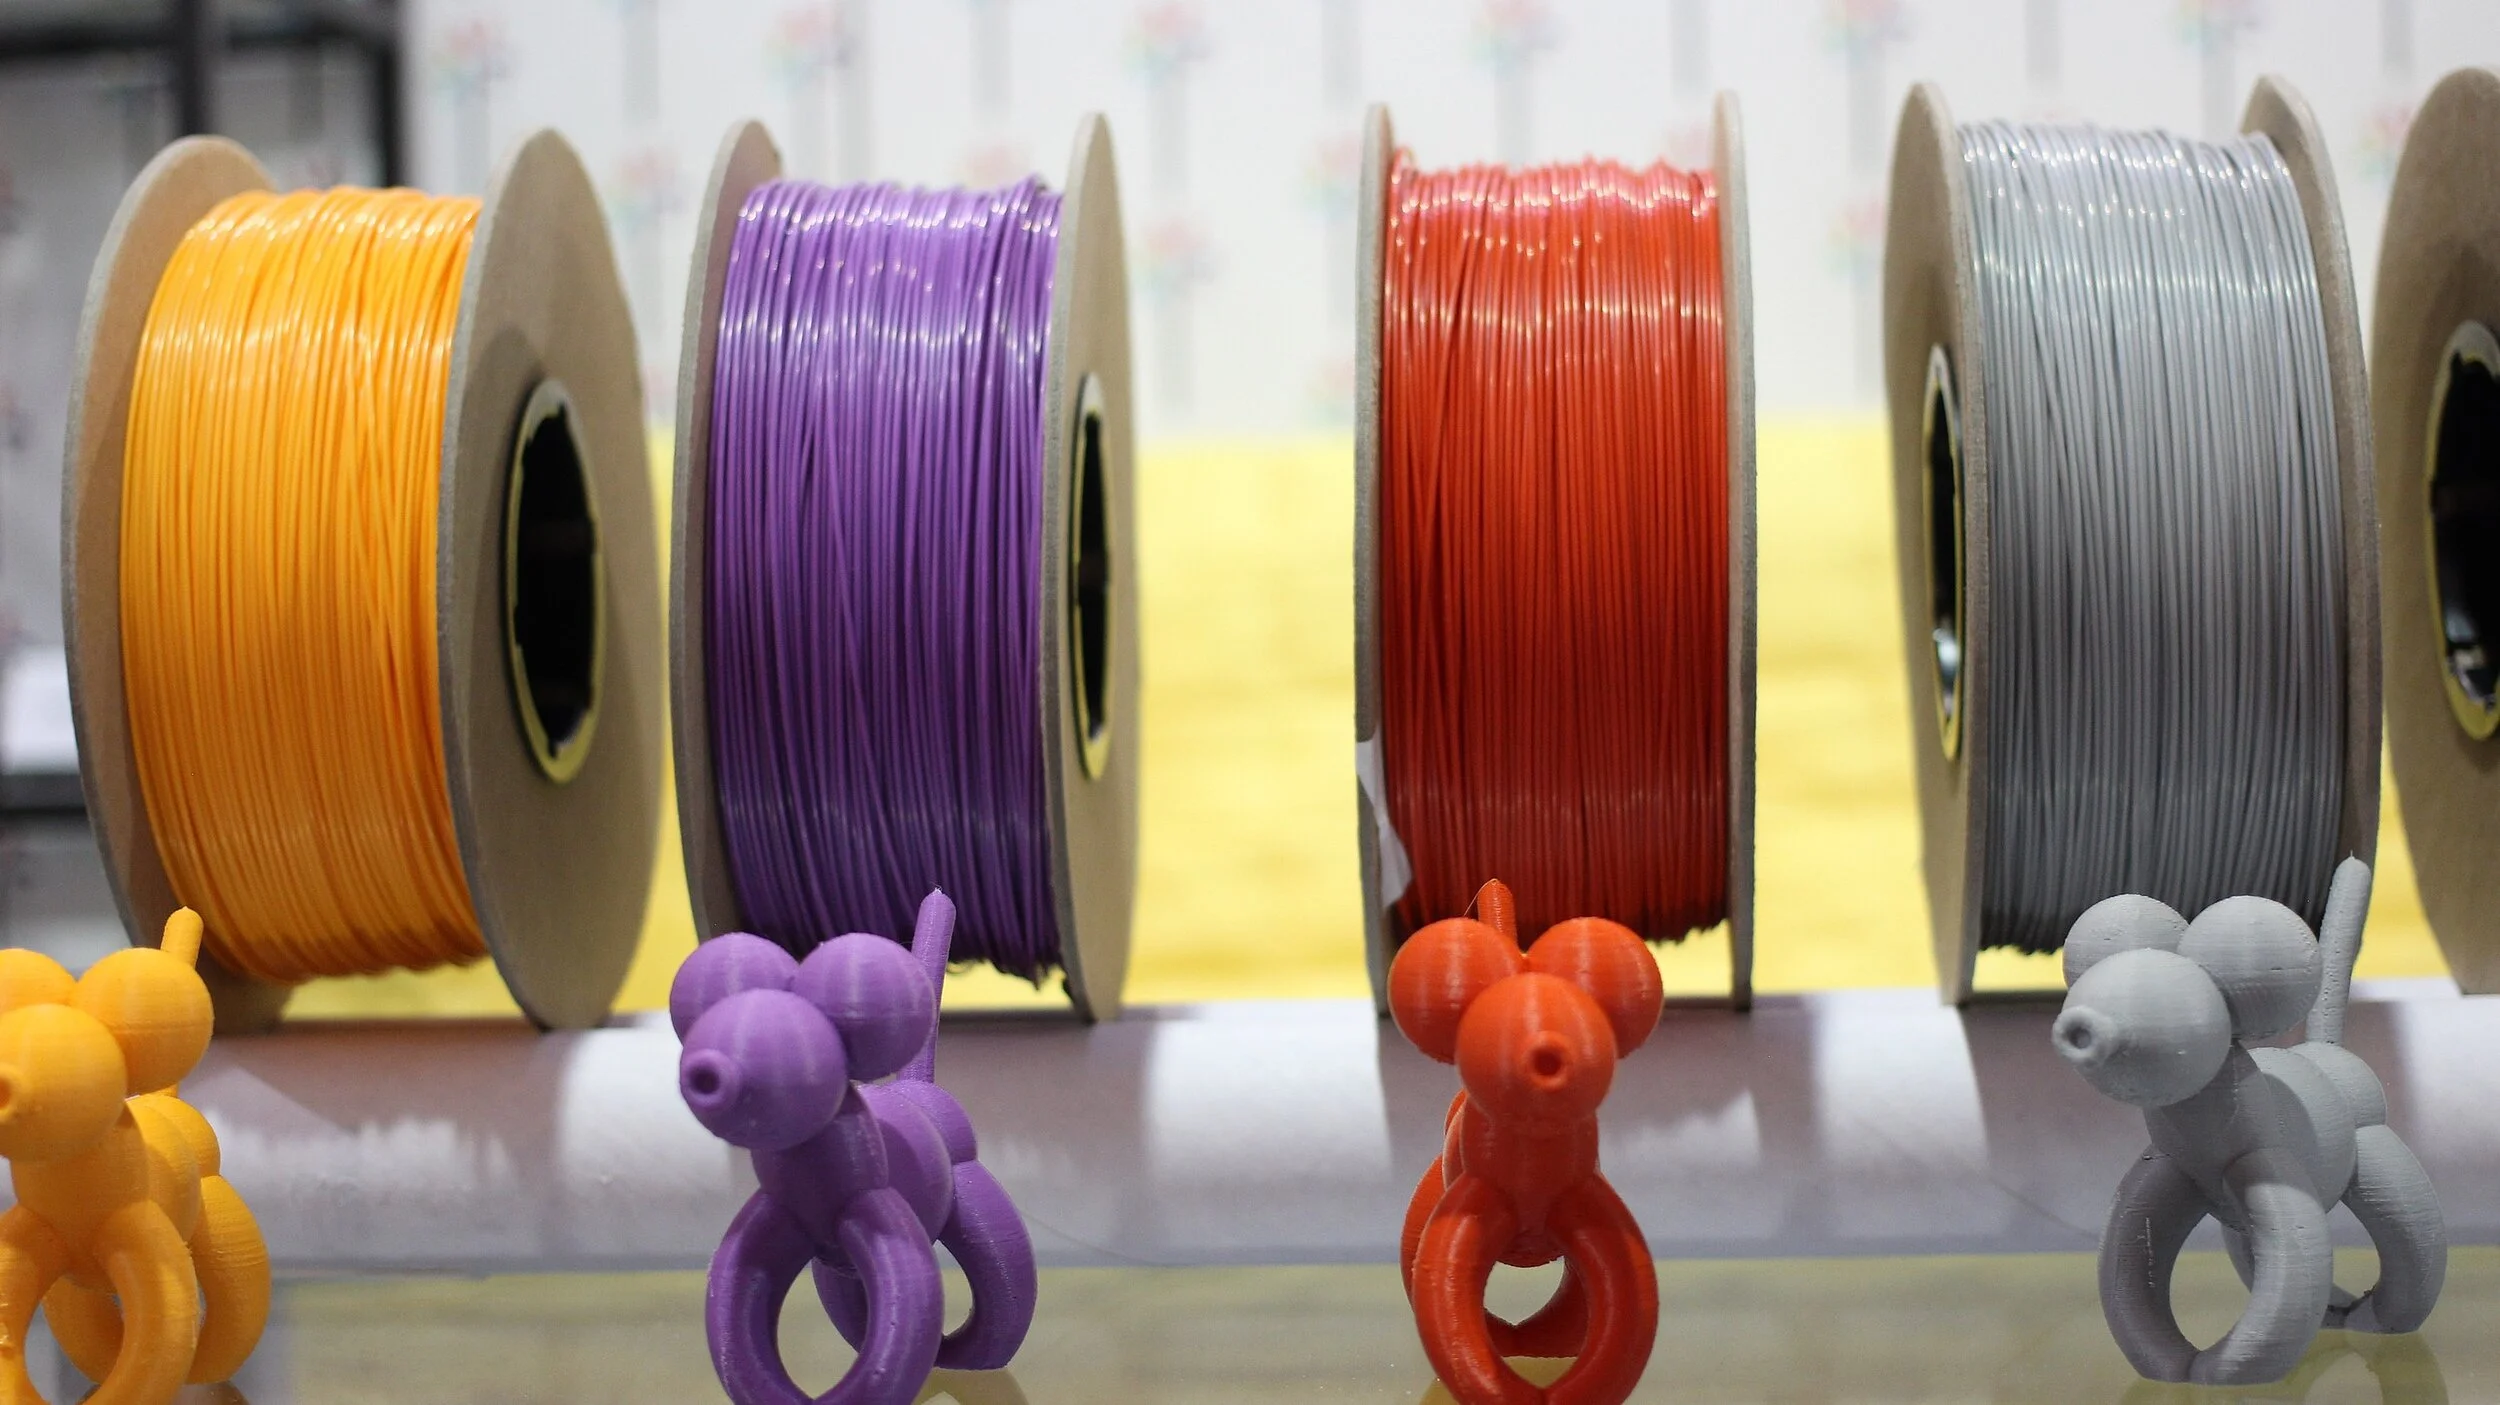
3D Printer Filament
1.75 mm PLA will do the trick and can be found on Amazon.
45 Minutes
Depending on your 3D printer, you’ll need roughly 45 minutes. We recommend printing without a raft and setting the infill to 100% at a .1 mm layer height.
What to do:
References
https://www.ncbi.nlm.nih.gov/pmc/articles/PMC2440799/
https://www.cambridge.org/core/journals/disaster-medicine-and-public-health-preparedness/article/testing-the-efficacy-of-homemade-masks-would-they-protect-in-an-influenza-pandemic/0921A05A69A9419C862FA2F35F819D55/core-reader
Additional Resources
https://www.coronavirus.gov/
https://www.nih.gov/health-information/coronavirus